Braising 101: How to cook meat to tender perfection
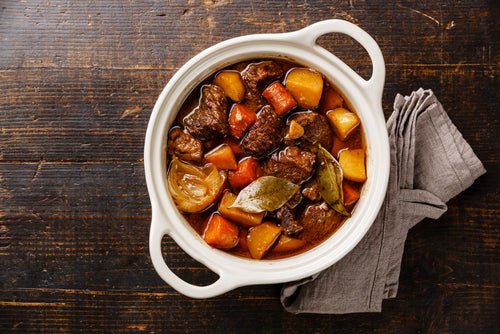
Chances are you have already braised meat. If you’ve made a beef stew, that’s braising. But it’s helpful to understand what exactly braising is, its purpose, and what cuts of Heartstone Farm's meat benefits best with this technique so you know when to apply it.
So what is braising exactly?
Simply put, braising is a process of cooking meat in liquid (water, stock, wine, beer, cider) which breaks down collagen and connective tissues to create fork tender meat along with deeply flavorful liquid or gravy you can simply spoon over your dish. When the collagen melts away it turns to gelatin which ads a nice thickness to the liquid.
Typically braising is done low and slow in a slow cooker, on the stove, or in the oven, but you can also braise meats quicker in a pressure cooker like an Instant Pot. In this guide, we will focus on low and slow cooking.
We love braising because once you get your recipe started, you can just set it, forget it, and let time work its magic. When it’s ready and you open up that lid, the result is a beauty to behold, to smell and of course, to taste.
What cuts benefit from braising?
Meat that is a bit on the tough side is ideal for braising. What makes meat tender is breaking down that collagen and connective tissues and that can be best accomplished over a long period of time (or in a pressure cooker) when the meat is bathed in liquid and there’s steam circulating around it.
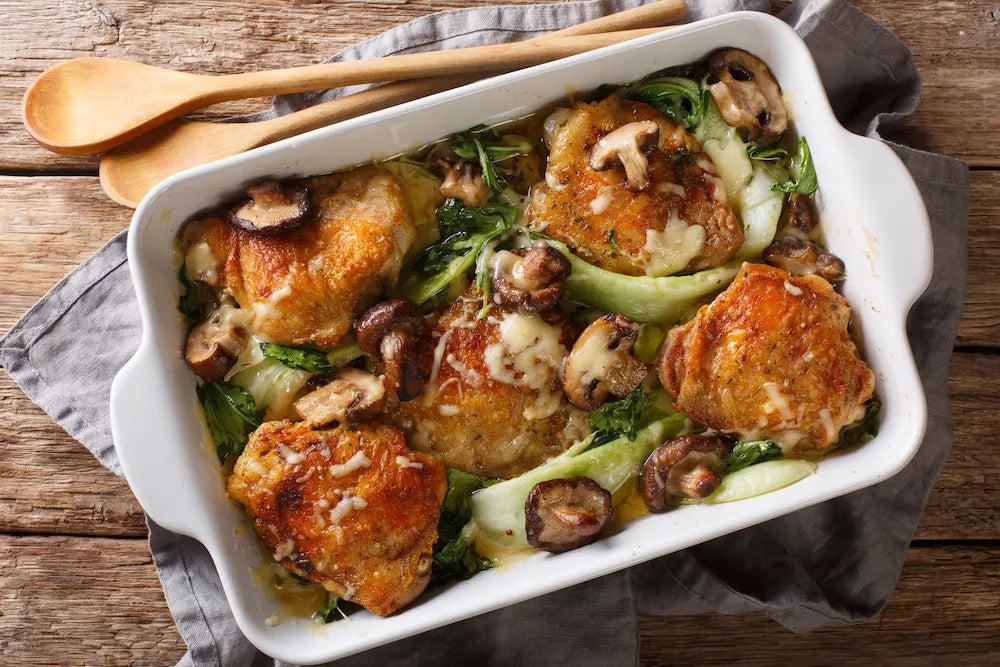
But there’s also something called “short braising” which is great for things like chicken thighs and drumsticks for example. They’re not tough cuts but they do have some lovely fat on them that renders down beautifully when braised.
Cuts we recommend braising include:Grass-Fed Stew/Kebab Meat
Grass-Fed Short Ribs
Grass-Fed Brisket
Grass-Fed Chuck Roast
Pasture-Raised Bone-In Pork Chops
All-Natural Chicken Thighs
All-Natural Chicken Drumsticks
How to braise
Recipes vary but here are some fundamentals.
1. For best results, season and sear the meat first. It serves multiple purposes:
a. It ensures that the flavor of the beef will permeate the dish
b. It creates a nice crust on the meat that seals in the juices
c. It gives the meat a nice browned color which will look great on the plate
Note: If you're not braising in a slow cooker, be sure to use a thick-bottomed pot like a dutch oven to avoid burning with a tight-fitting lid to reduce evaporation.
2. Sauté vegetables
Remove the meat from the pan and sauté your vegetables. Onion, carrots, celery and fennel are great contenders. You may need to add a little oil to the pan to ensure your veggies don’t stick.
3. Deglaze the pot/pan
Pour a little of your braising liquid into the pan and use a wooden spoon to release the caramelized meat bits (aka “fond”) from the bottom of the pan so they don’t burn and are able to distribute into your liquid.
4. Add the rest of your braising liquid and season
Pour your choice of braising liquid into the pan. Typically about 1” of liquid will suffice. Heartstone Farm’s meat is so flavorful that simply adding water will do. However, it’s fun to experiment with a variety of braising liquids including: stock (beef, chicken, pork or vegetable), wine (red, white, fortified), beer (pick your favorite local brew), or apple cider. Follow the recipe or get creative and choose the flavors you enjoy. You can add any spices in at this time as well.
5. Nestle in your meat, set it and forget it (monitoring occasionally)
Follow the recipe and set your timer - may take anywhere form 2-8 hours depending on the meat. Ensure your meat is at least partially submerged in the liquid. If you are braising in a pot or pan, be sure to open the lid occasionally to ensure there is still sufficient water in the pan.
6. Test for doneness
Open the lid, take a fork and pull at the meat. If it’s fork tender, the dish is ready to serve. Give it a taste and adjust seasoning if needed.
Do you have some go-to braising recipes?
Hearty Beef Stew with Pork and Pearl Onions
Slow Cooker Cider-Braised Brisket
A final note: Braised dishes make terrific leftovers. In fact, sometimes they taste better the second day. So make sure you cook a larger portion than you plan on serving right away. Or you can even make the dish a day or two before you want to serve it, and just reheat it when you’re ready.
Happy braising!


